Blog
-
 5 min read
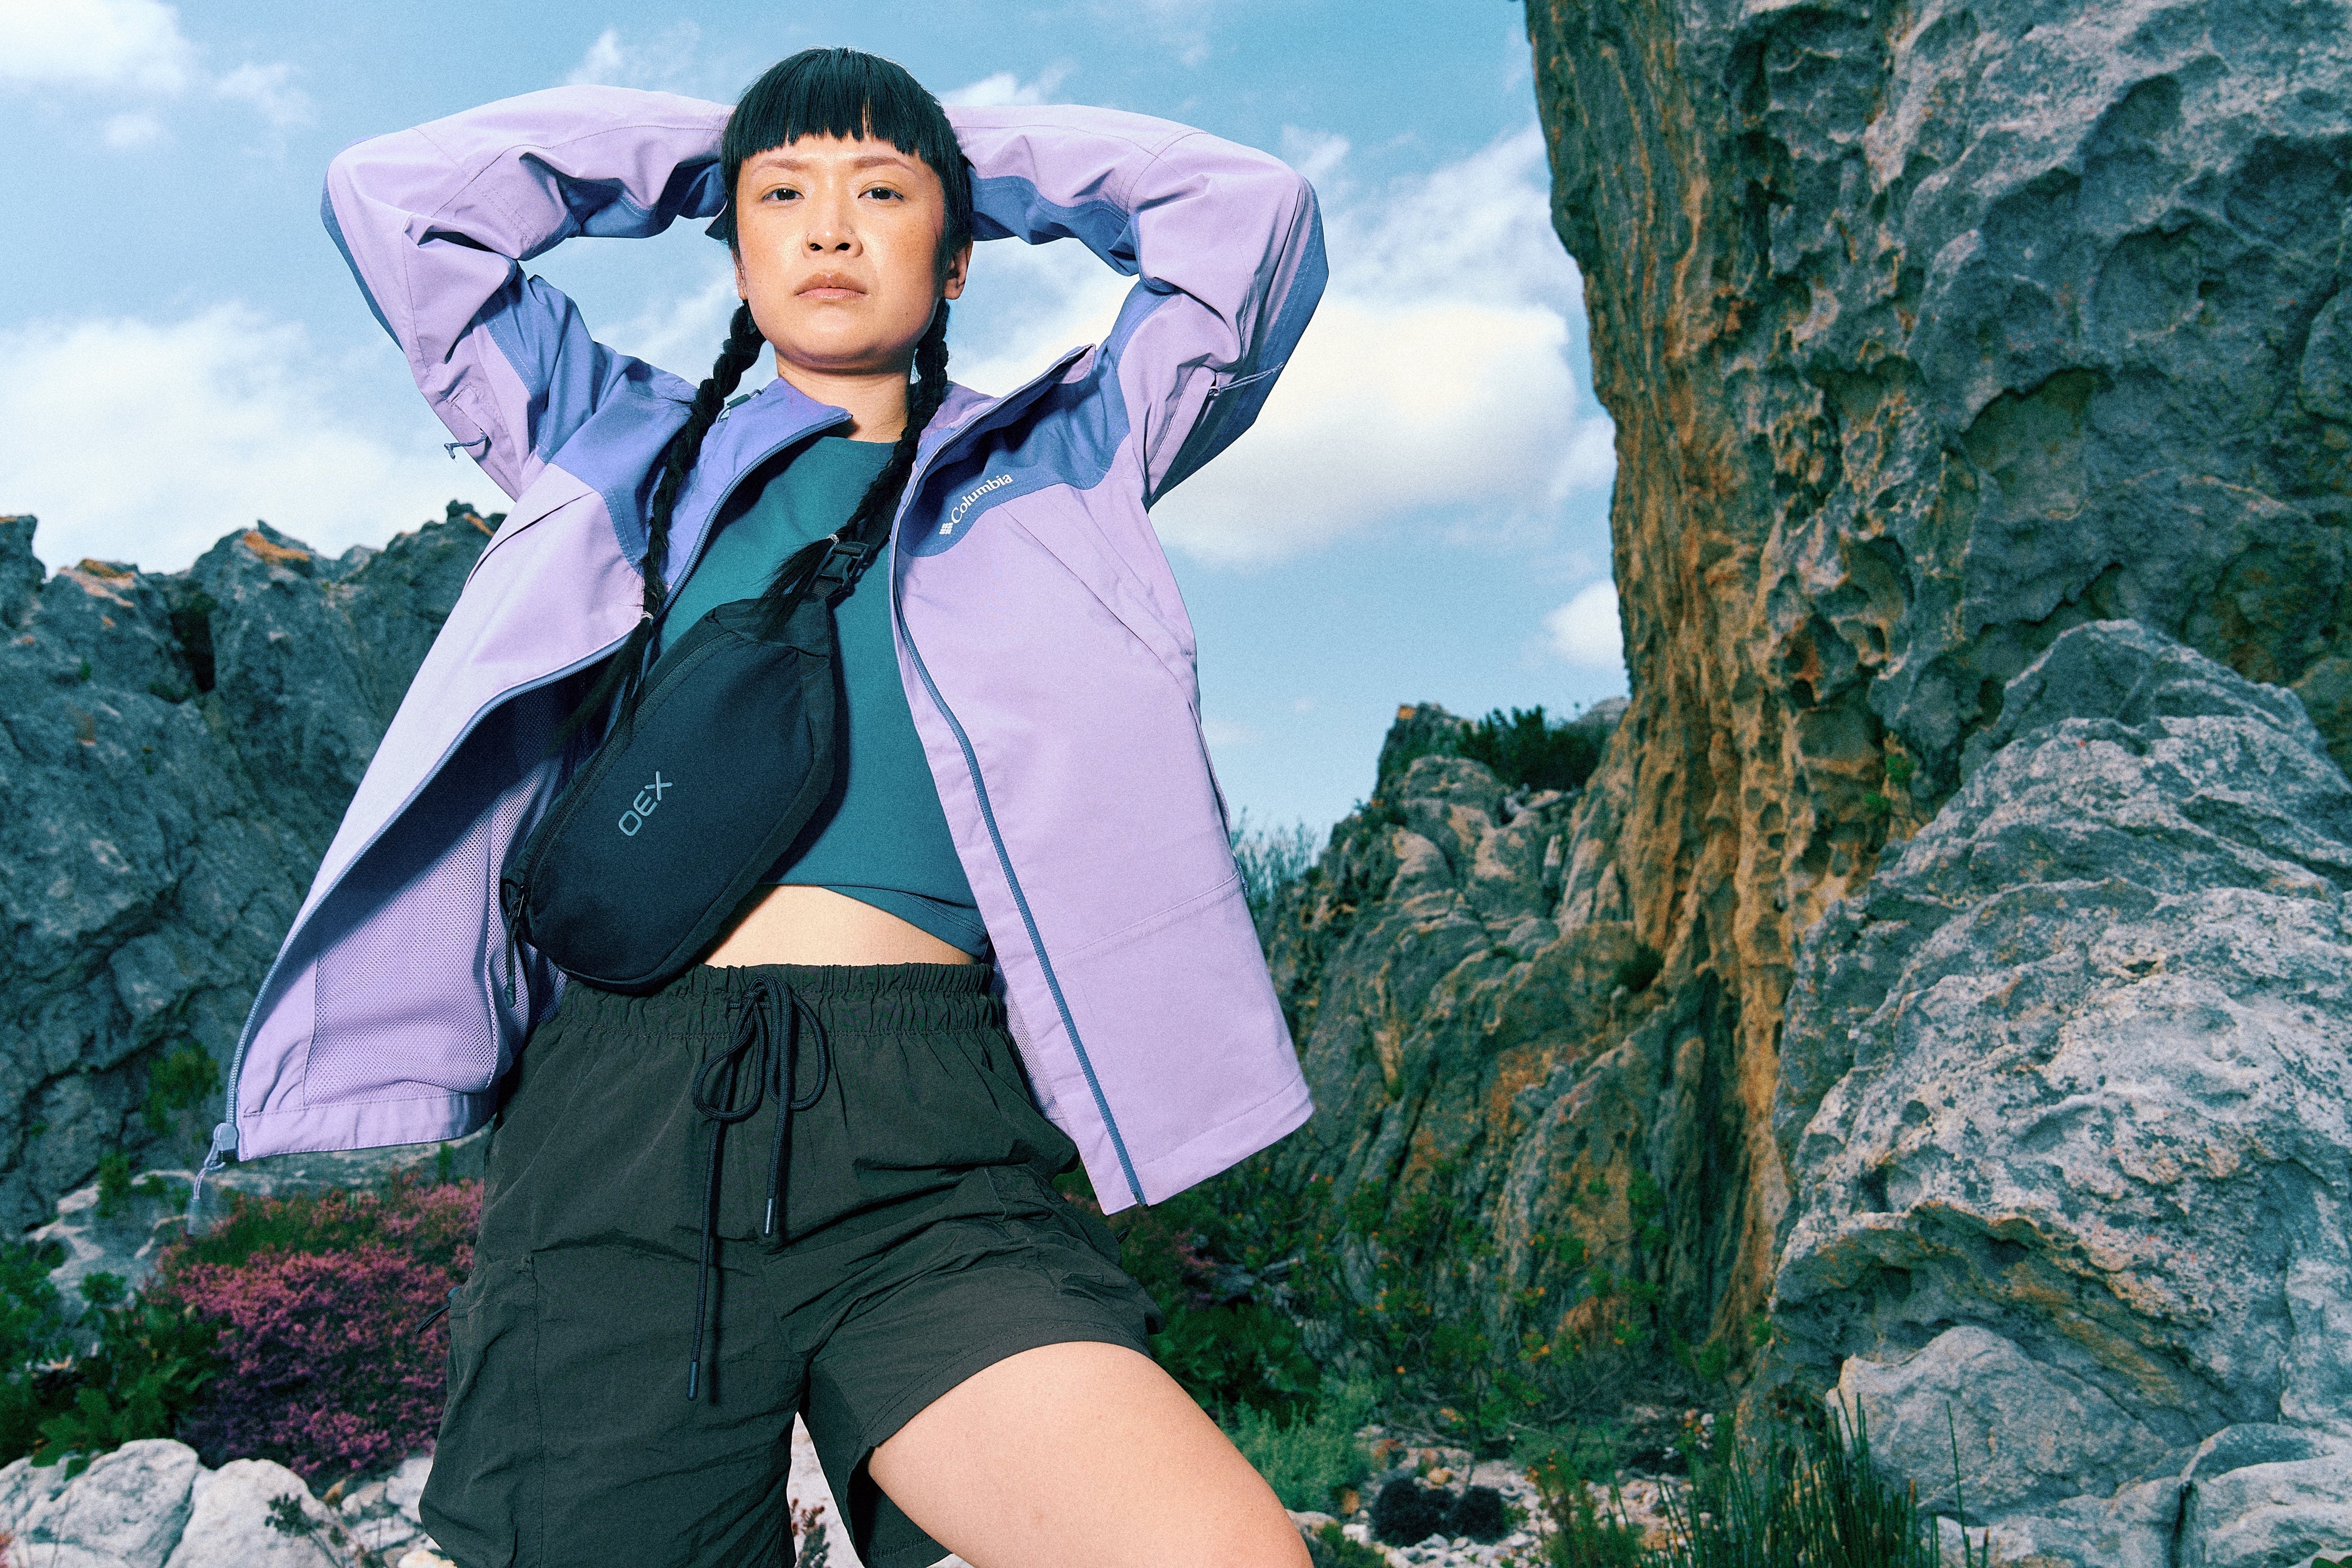
Festival Fits: What to Wear for Your Next Festival
We know that everyone has their individual styles, which is what makes us unique. Just because we all love the outdoors doesn't mean we all love the same fits. Festivals...
Read Article -
 4 min read
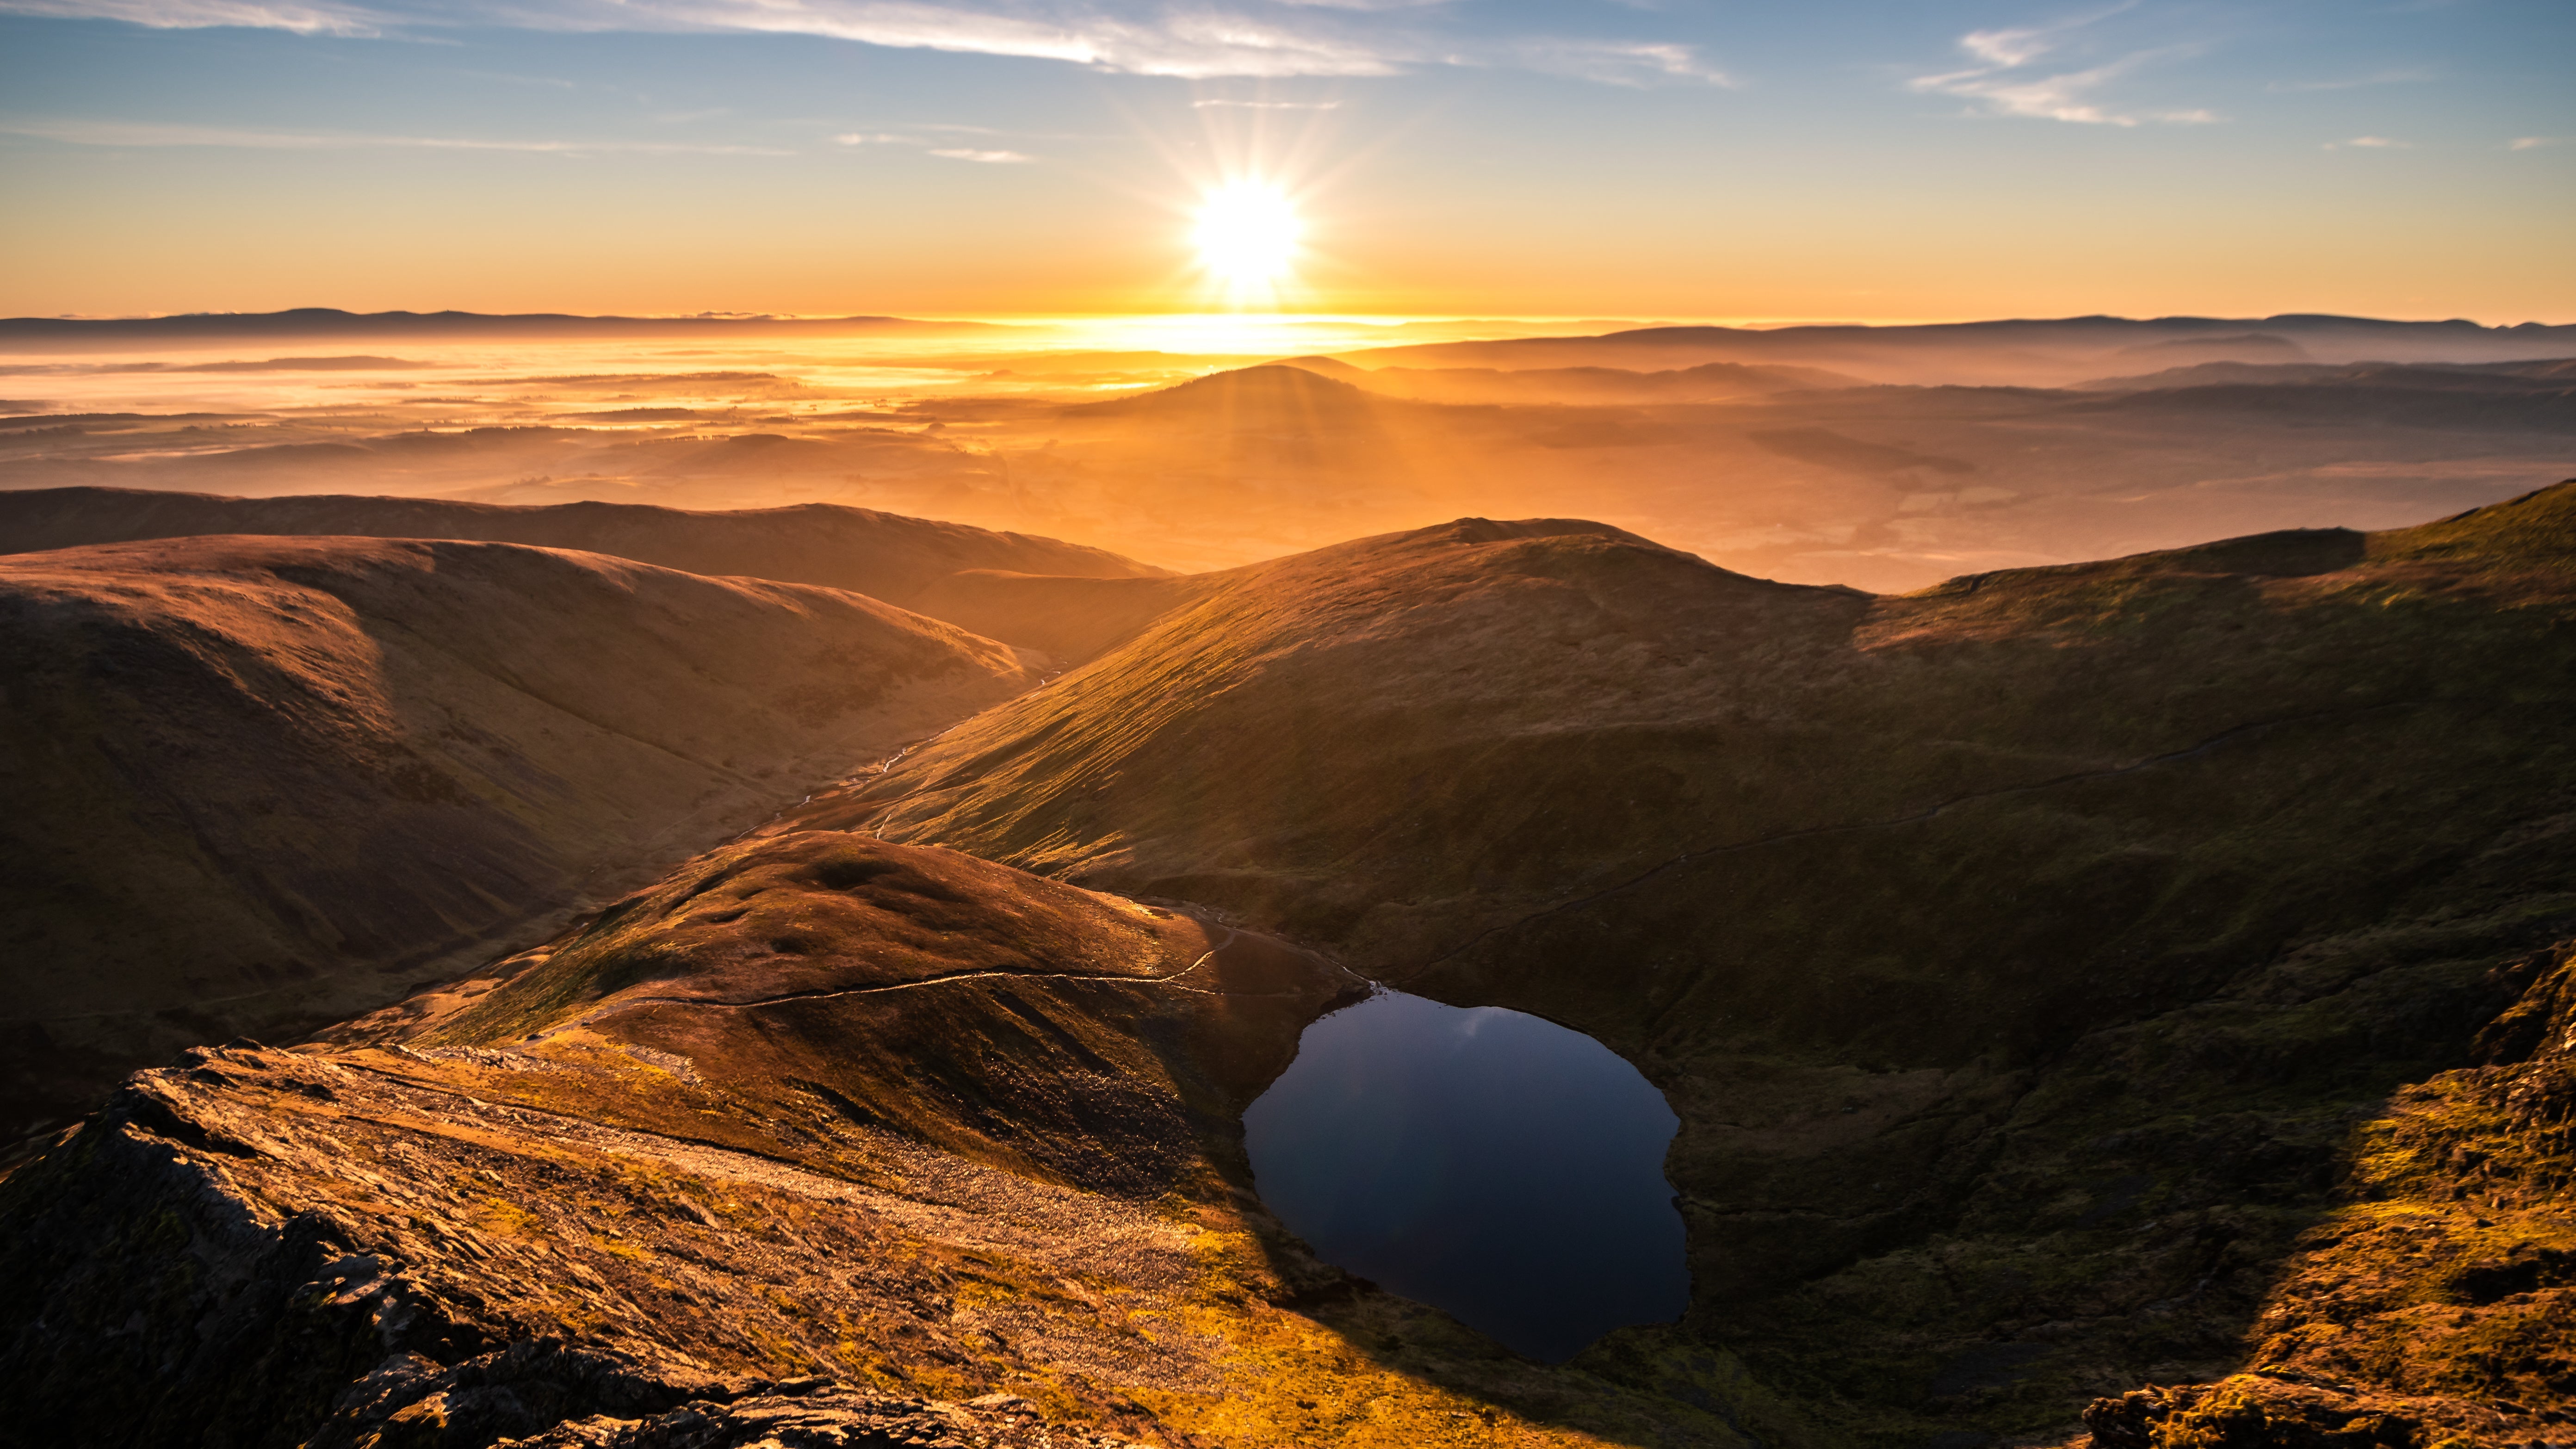
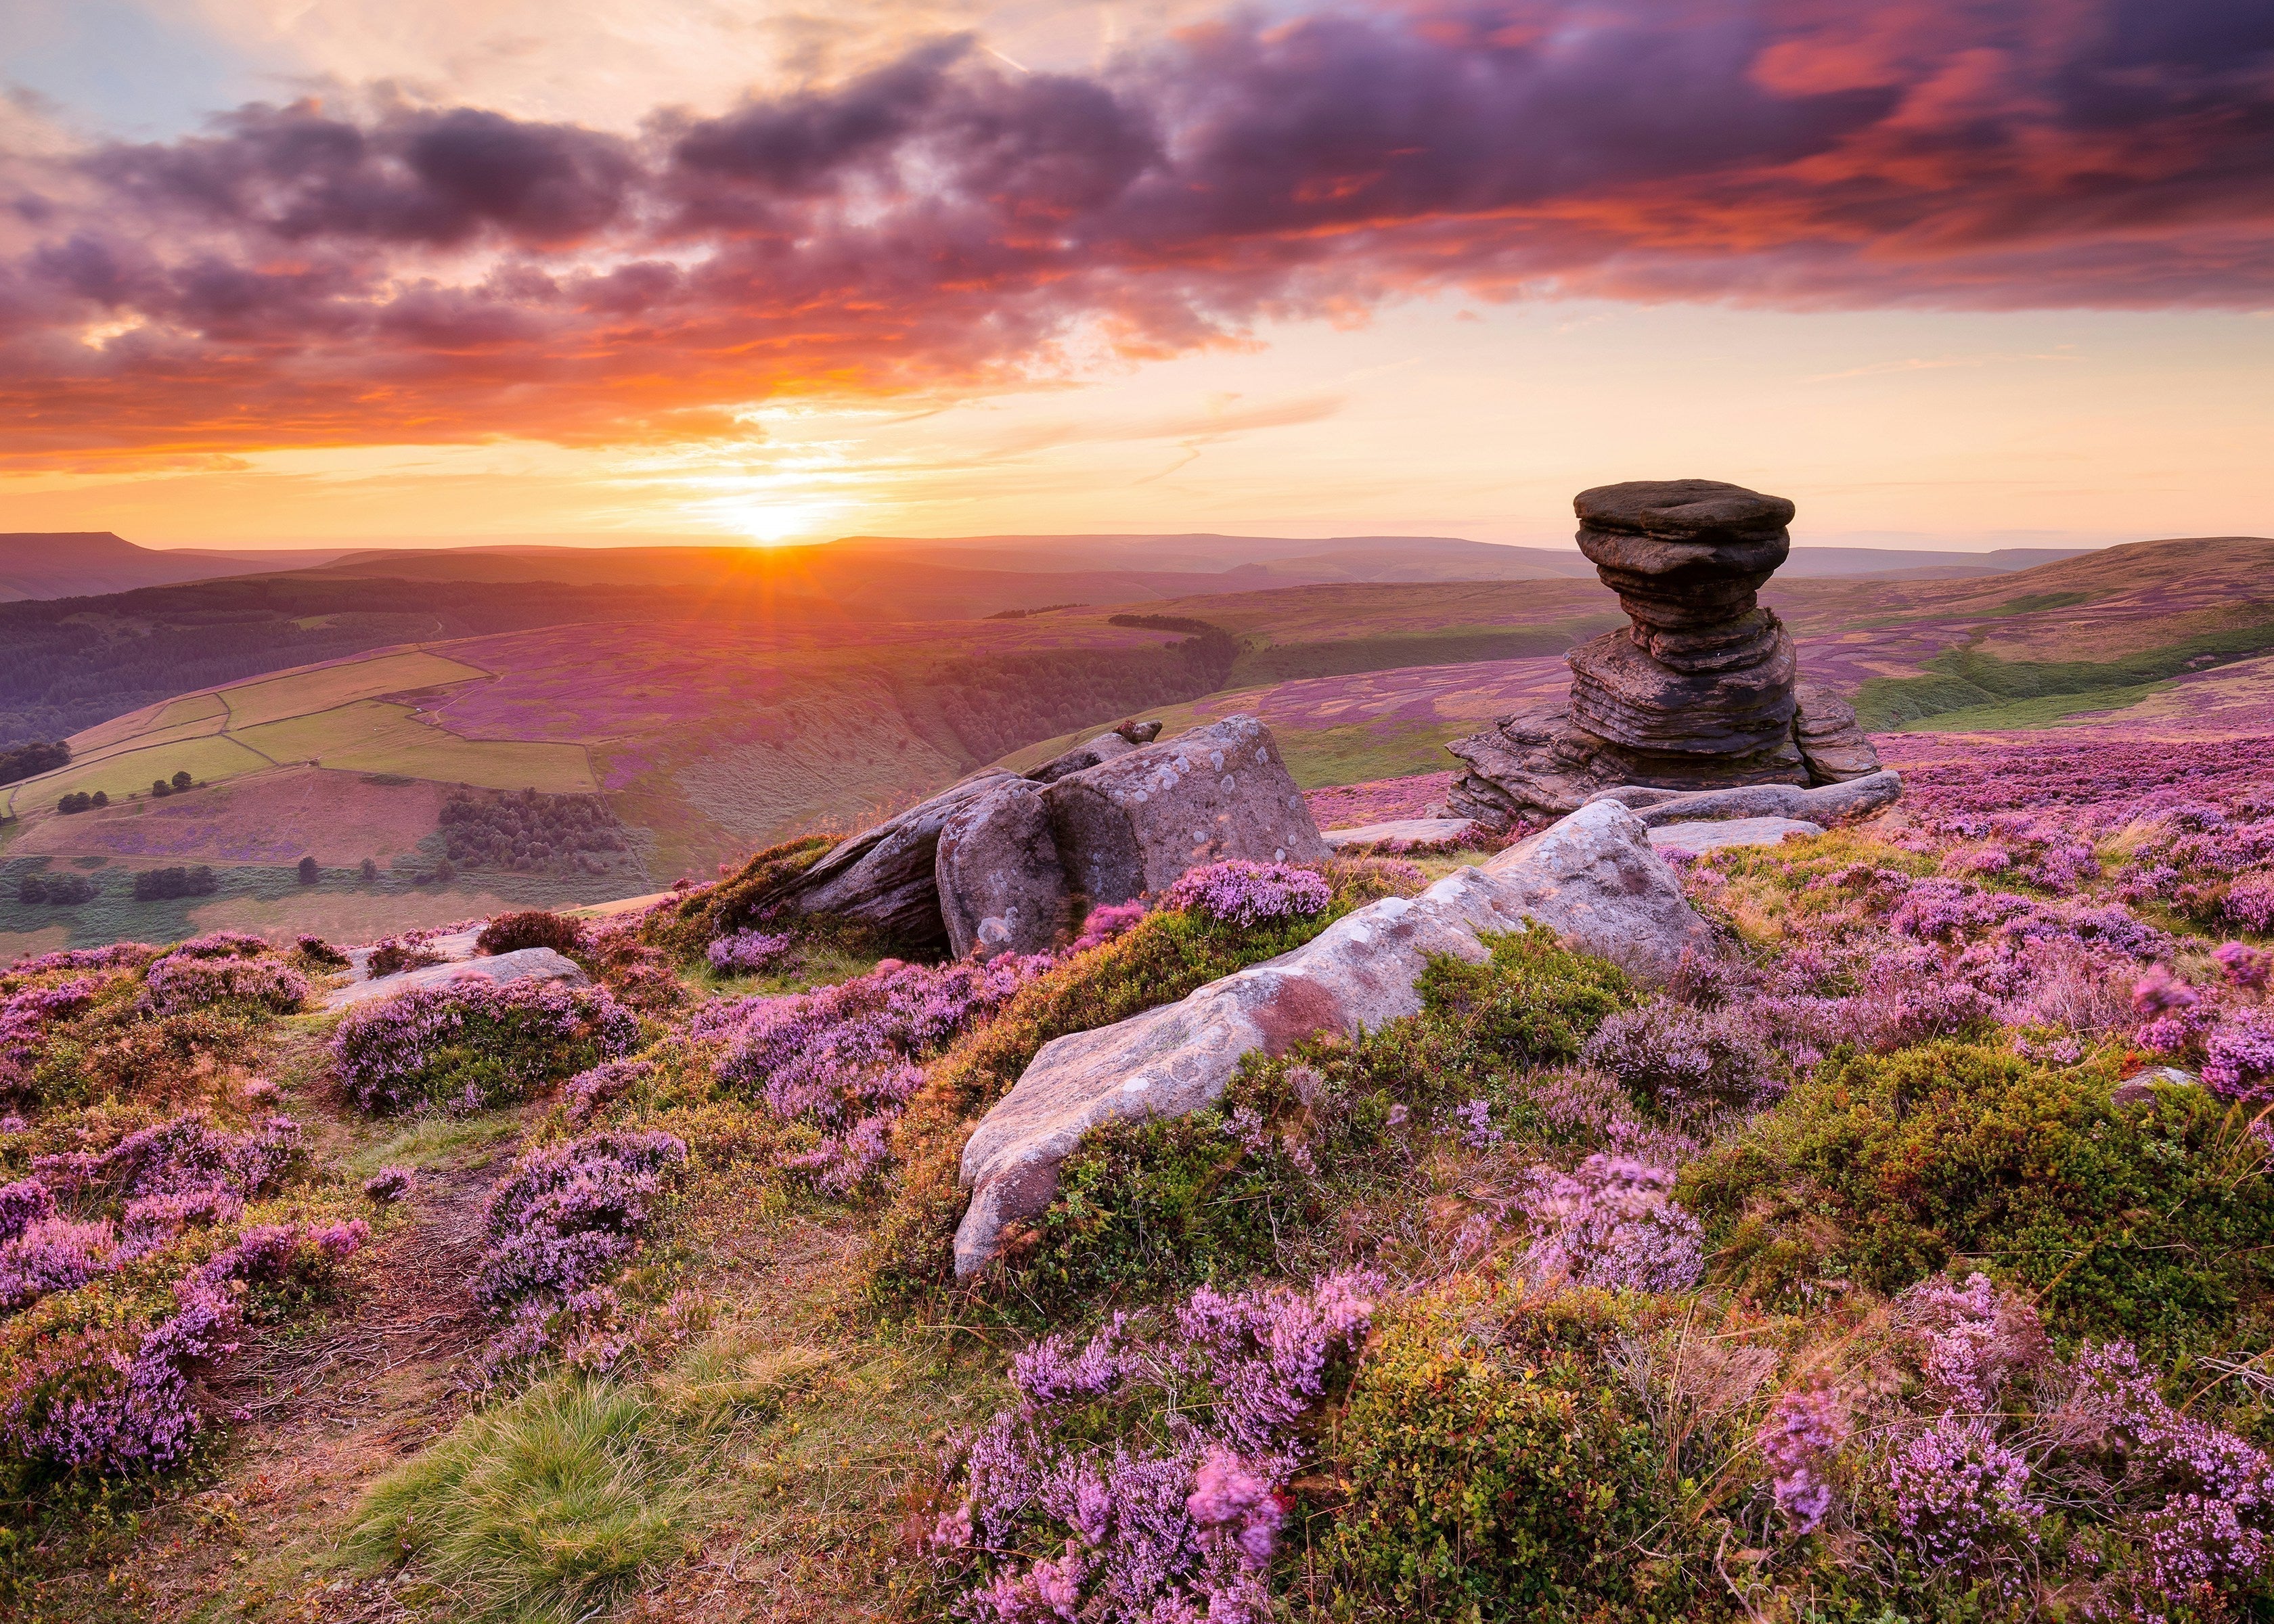
Sunset Hikes: UK’s Best Destinations For Sunset Walks
Ahead of the brighter days, the outdoor experts here at Blacks have analysed data on average sunset times, cloud coverage, and the number of hiking trails across UK regions to...
Read Article -
 14 min read
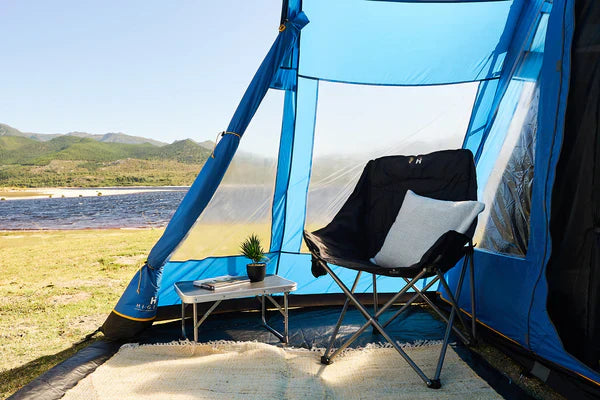
Tent Buying Guide: Choosing the Right Size & Waterproof Rating
All your questions on tents: answered. Offering expert guidance on the questions you want to know. From waterproofing and sizing, after care and accessories, we have you covered. Featuring an...
Read Article -

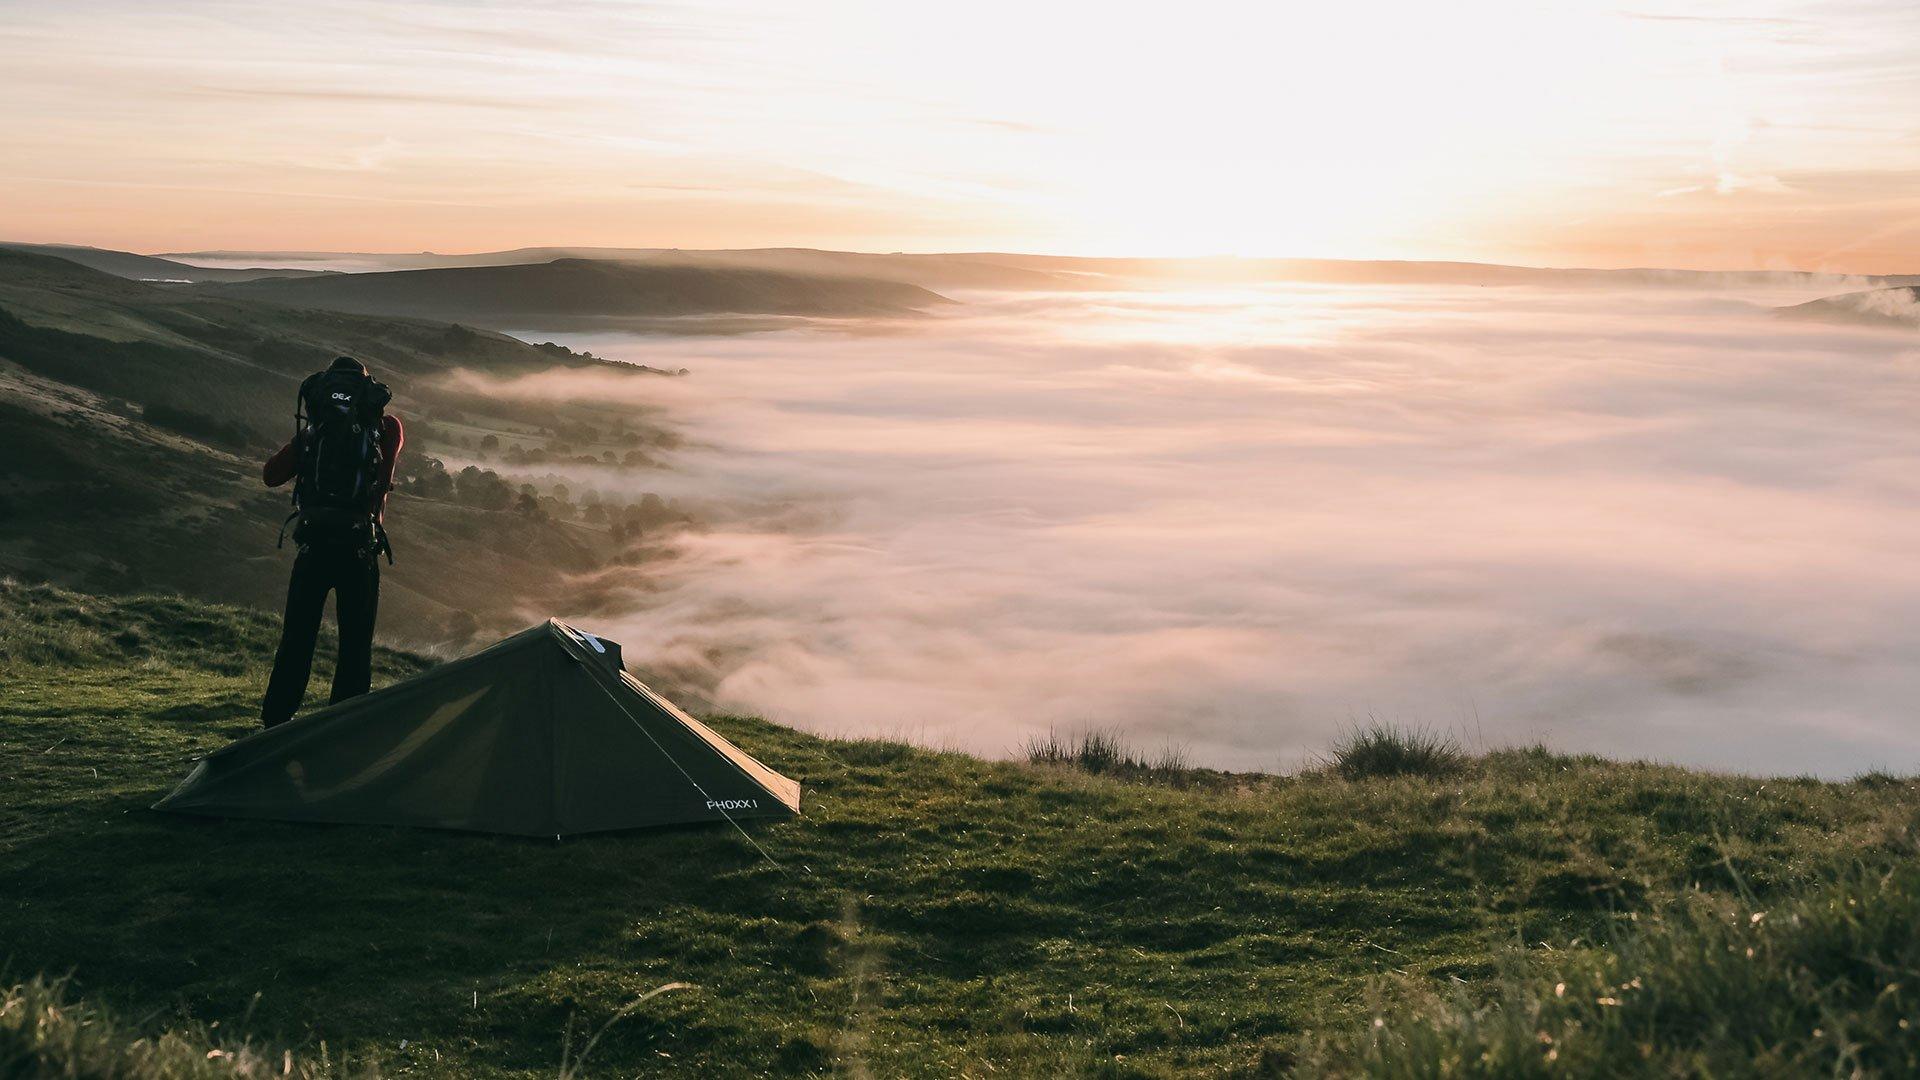
The UK’s Best Sunrise Hikes & Walks
Ahead of the brighter spring days, here at Blacks, we have analysed data looking at the average sunrise times, cloud coverage and the number of hiking trails in UK regions...
Read Article -
 3 min read
Why Choose Nikwax Waterproof Products?
What are the origins of the brand Nikwax? Founded in 1977 by Londoner Nick Brown, the original Nikwax Waterproofing Wax for Leather product was made to preserve leather walking boots...
Read Article -

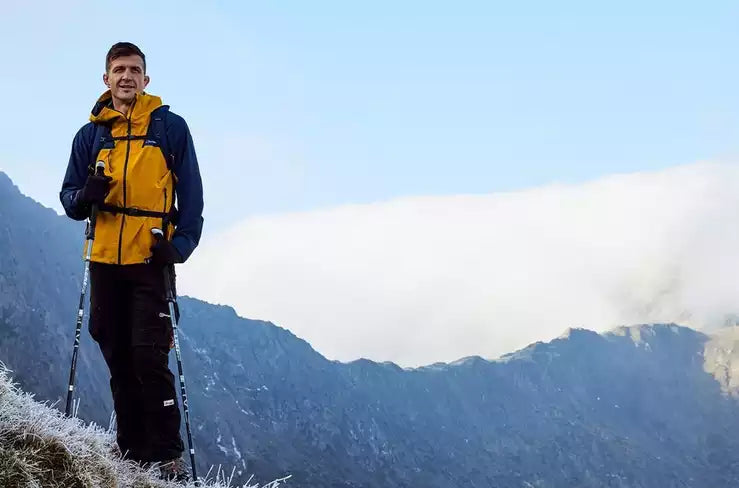
Life Outdoors | Overcoming Adversity with Ed Jackson
Can nature help us to overcome adversity? Ed Jackson, former professional rugby player turned mountaineer and mental health advocate spends his days proving the benefits. April 8th, 2017, Ed Jackson...
Read Article -
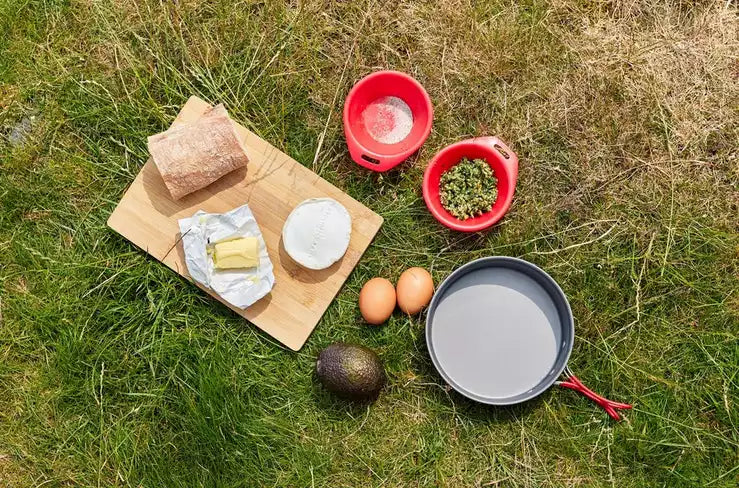
Campsite Cooking: Fell Foodie's Pesto Eggs with Avocado and Goat's Cheese Toast
Harrison Ward, better known as Fell Foodie, is an outdoor cook, hiker and wellbeing advocate who is inspiring outdoor adventurers to ditch their clingfilmed sandwiches and create delicious meals on the hill. Using...
Read Article -
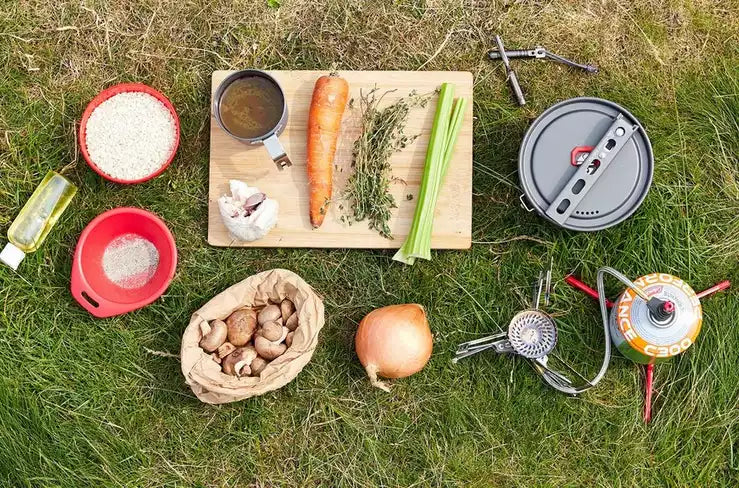
Campsite Cooking: Fell Foodie's Mushroom and Thyme Risotto
Harrison Ward, better known as Fell Foodie, is an outdoor cook, hiker and wellbeing advocate who is inspiring outdoor adventurers to ditch their clingfilmed sandwiches and create delicious meals on...
Read Article -

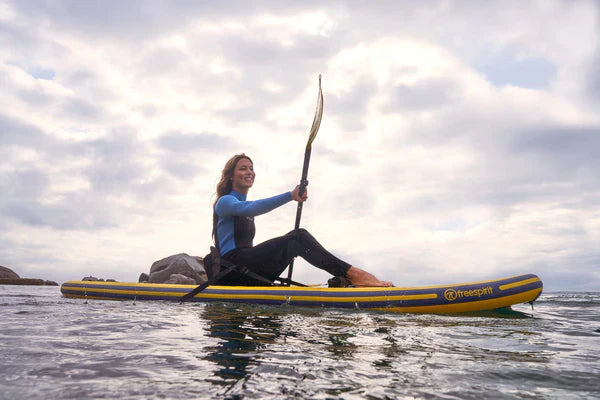
Wild Swimming Destinations
Wild Swimming is a growing craze for people who want an exhilerating opening to their weekend. Have you considered taking the plunge yourself? All you need is a wetsuit, courage...
Read Article -

Stunning Summer Hikes to Enjoy this Season
The long days of summer offer the perfect conditions to lace up your boots and head for the hills. We’ve reached out to some avid adventurers throughout the UK and picked...
Read Article -
Running 5000 Miles Around the Coast of the UK | #EverydayLifeOutdoors
On paper, Elise’s life was going well. She was living in London in her early twenties with a new flat, a degree and a promising job at a start-up. She was...
Read Article -

SAXX x Blacks | A Brief Discussion
From hunter gatherer to modern man, much has changed in two million years. Yet, our attitudes to masculinity, mental health and body images have remained the same. Why is it...
Read Article -
Liam MacDevitt Completes 3 Peaks Challenge with Alive and Kicking
TV presenter and footballer Liam MacDevitt has completed the Winter Three Peaks Challenge, climbing the highest peaks of Scotland, England and Wales in just 24 hours. On the 5th of...
Read Article -
Bagging the Wainwright's | A Record-Breaking Pursuit
James Forrest recently set an incredible new record time for a self-supported continuous hike of Alfred Wainwright’s 214 Lake District peaks. The 37-year-old, a journalist, adventurer and outdoor ambassador from...
Read Article -

Winter Sports Index
The best ski resorts in the UK and Europe revealed Between November 2022 and November 2023, approximately 291,000 people participated in winter sports in England alone, proving their undeniable popularity.¹ Additionally,...
Read Article -

Wellness Hotspots: The Best UK Locations for a Relaxing Wellness Getaway
With the pressures of daily work and family commitments, improving mental wellbeing is often on people’s minds. As the weather gets warmer and with later sunsets, spring is an ideal...
Read Article -
Facing The Threat: Q&A with Sarah Roberts
Sarah Roberts is an eco-journalist, author, campaigner and an expert in animal behaviour. She has travelled the world to work with some of the world’s most dangerous and (in her...
Read Article -
Lupus Sucks, Exploring Doesn’t – An Interview with Kate Appleby
Born in the Lake District, 29-year-old Kate Appleby is an advocate for the benefits of a life spent outdoors. A climber, hiker, boulderer, swimmer and all-round adventurer, Kate documents her lifestyle as...
Read Article -
Review: BioLite CampStove 2
Here’s the real verdict. Me, Stuart Reid, out cooking up a storm with the BioLite Campstove 2. I’m putting this new-and-improved version of the CampStove through its paces, to find...
Read Article -
Gary House X Montane: Fell Running Tips to Move Fast and Light in the Mountains
To succeed as a fell runner, it's crucial to move quickly and efficiently. Maintaining a low weight, having appropriate gear, training regularly, and maintaining proper nutrition are all essential components...
Read Article -
The Man Behind ‘We Go Outside Too’ – Marlon Patrice
Does nature really have the power to change lives? Listen to Marlon Patrice, founder of ‘We Go Outside Too’ and you’ll be hard-pressed to disagree. Following the tragic death of...
Read Article